I absolutely love porchetta, but for 2 reasons it’s not really practical for me to make on the reg:
- I’m usually only feeding 2-4 people
- I can’t easily get my hands on a 5kg slab of pork belly…
So, I came up with this recipe which uses the flavours of porchetta, but on a much smaller scale. Smaller in size, but just as big in flavour. This is a hearty, Italian comfort meal loved by everyone I’ve ever made it for, perfect for picnics or winter meals in. The pork & stuffing are very rich, but the fresh & salty salsa verde really cuts through that. It would also be delicious with some pickled onions added to cut through the richness even more.
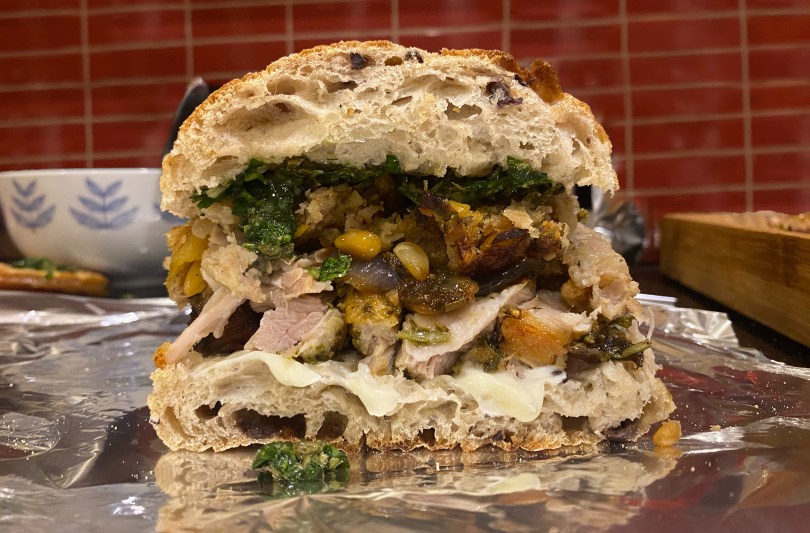
I love this in a sandwich with the stuffing, salsa verde & the rest – but the pork belly would work just as well on it’s own as the centre piece of a roast. You can take the components of this dish & make it your own!
Porchetta Style Pork Belly Sandwiches With Salsa Verde and Sausage & Apricot Stuffing
Ingredients
Pork Belly:
600g piece of pork belly, skin on
Large handful parsley
Large hanndful sage
Large handful rosemary
4 large cloves garlic
1/2tbsp fennel seeds
1 white onion
75ml olive oil + extra to coat onions
Sea salt
Sausage & Apricot Stuffing:
1tbsp butter
1/2tbsp olive oil
1/2 white onion, diced
25g pine nuts
8 sage leaves, finely chopped
Small handful parsley, finely chopped
60g dried apricots, diced
75g bread crumbs
200g sausage meat
Salsa Verde:
Large handful of parsley
Large handful of basil
Small handful of mint
1 large garlic cloves
4 anchovy fillets
1tbsp capers
40ml extra virgin olive oil
Sandwich Assembly:
Nice bread – ciabatta or foccacia work well
A few tbsp good quality mayo
Pork Belly:
- Preheat the oven to 250°C/230°C fan (or as hot as it will go)
- Toast the fennel seeds in a dry pan until fragrant. Grind them in a pestle & mortar.
- Put the herbs, garlic, fennel seeds & olive oil into a food processer & pulse until the garlic & herbs are broken down. You want this to be a little chunky still, not a paste.
- Slice your onion into coins & place these in the bottom of the roasting tin, this will form the bed for the pork. Lightly coat these in olive oil.
- Score the pork belly skin in diagonal strips. Score the underside of the belly into diamonds (i.e. diagonal cuts in both directions)
- Rub the fleshy side of the pork generously with sea salt, followed by the herb mix. Place the pork herb side down onto the onions.
- Pat the skin dry with kitchen roll, then salt the skin generously. It’s important to do this just before you put it in the oven, if left out the salt will draw the water of the skin and will need to be dried again.
- Put the pork in the over for 10-20 mins or until the skin crisps up. Reduce the heat to 160°C/140°C fan & cook for a further 1-1.5 hours.
- If at the end of the cooking time the skin needs crisping up a little, cook under a hot grill until crisp. Keep a VERY close eye on this, it can burn very quickly.
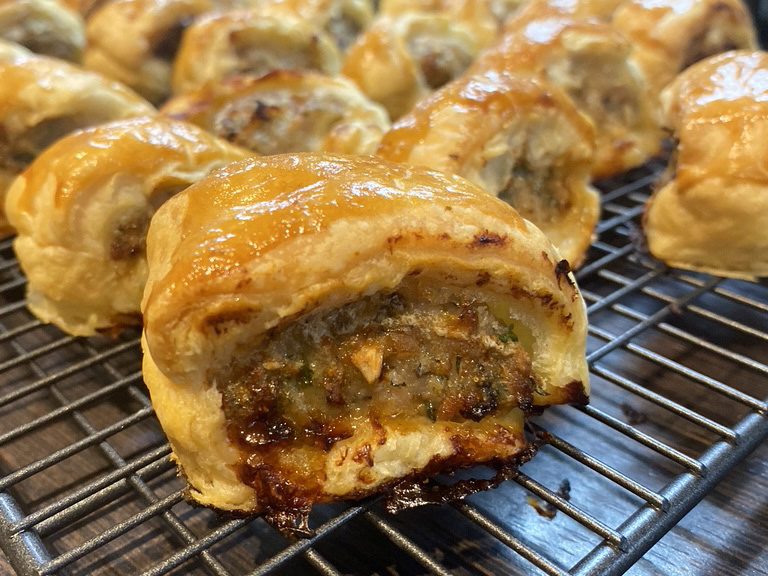
Sausage & Apricot Stuffing:
- Heat the butter & oil in a pan over medium heat. Add the onion & cook until softened (about 5-10 mins) – try not to let these catch.
- Toast the pine nuts in the oven with the pork for about 5-10 mins until golden. Keep a very close eye on these as they can burn very quickly!
- Combine all remaining ingredients in a bowl, with the fried onions & toasted pine nuts. Season with salt & pepper (you can taste for seasoning by frying up a small amount)
- Push the stuffing mix into a baking dish (22x16cm)
- Bake in the oven for 45mins-1hour until golden on top & cooked through.
Salsa Verde:
- Chop all ingredients bar the oil on a board until finely chopped.
- Transfer this to a bowl & mix with the oil.
Assembly:
- I like to warm the bread in the oven for 5-10 mins before assembly.
- Remove the crackling from the pork belly & set aside. Slice the pork belly.
- I like to make my sandwiches on a piece of foil so when they’re done I can wrap them up tightly. This makes for easier eating
- Cut the bread open. Spread mayo on the bottom layer, add the pork belly on top followed by the roasting tin onions. Add stuffing followed by a heapinng dollop of the salsa verde. Top with the other half of the bread & enjoy!